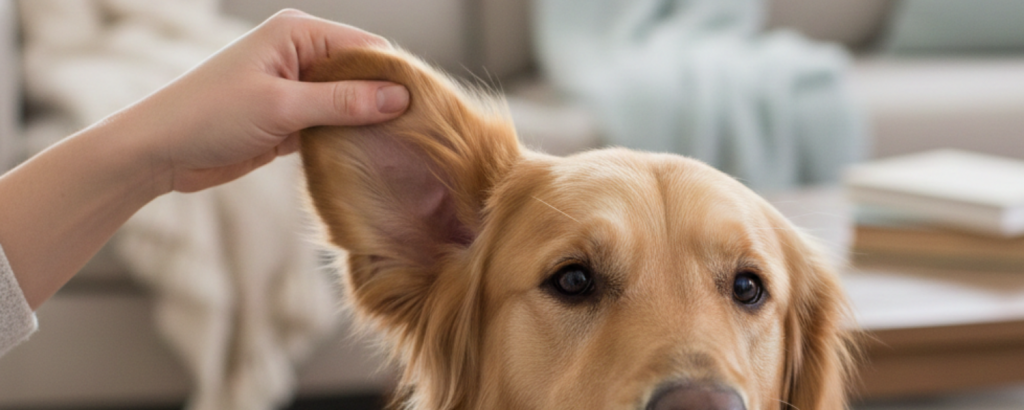
As a pet owner, there is nothing more distressing than seeing your furry friend in discomfort. If you’ve noticed your dog or cat shaking their head more than usual or pawing at their ears, they may be dealing with an ear infection.
While common, ear infections can become serious if left untreated, leading to hearing loss or chronic pain. In this guide, we’ll cover everything you need to know about identifying pet ear infections and how to keep those ears healthy using professional grooming standards.
7 Common Signs Your Pet Has an Ear Infection
Pets can’t tell us when they’re in pain, but their behaviour usually gives it away. Keep an eye out for these clinical symptoms:
- Persistent Scratching: Frequent pawing at the infected ear or rubbing their face against the carpet.
- Head Shaking or Tilting: A classic sign of discomfort or a feeling of “fullness” in the ear canal.
- Redness and Swelling: The inner flap of the ear canal looks inflamed.
- Dark Discharge: Lookout for wax that appears black, dark brown, or green.
- Unpleasant Odour: A “yeasty” or pungent smell coming from the ear.
- Crusting or Scabs: Often caused by trauma from the pet scratching themselves.
- Sensitivity to Touch: Your pet may flinch or yelp when you try to pat their head.
Why Do Pets Get Ear Infections?
The anatomy of a pet’s ear is different from that of a human’s. Dogs and cats have an “L-shaped” ear canal that easily traps moisture and debris. Common causes include:
- Allergies: Environmental allergens (like South African grasses) or food sensitivities often manifest as ear inflammation.
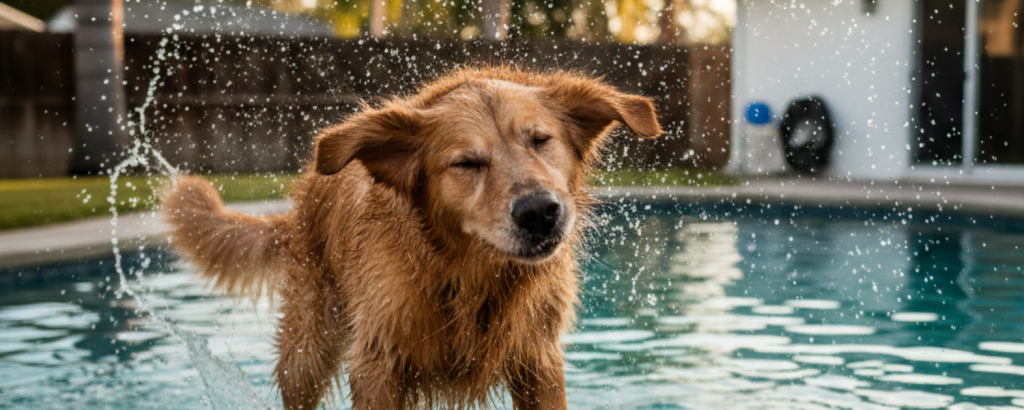
- Moisture: Water trapped after a bath or a swim at the beach is a breeding ground for bacteria and yeast.
- Parasites: Ear mites are highly contagious and common in younger pets.
- Foreign Bodies: “Stick-tights,” grass seeds, or sand can become lodged deep in the canal.
- Excessive Hair: Breeds like Poodles or Schnauzers often have thick hair growth inside the canal, which restricts airflow.
How to Safely Clean Your Pet’s Ears at Home
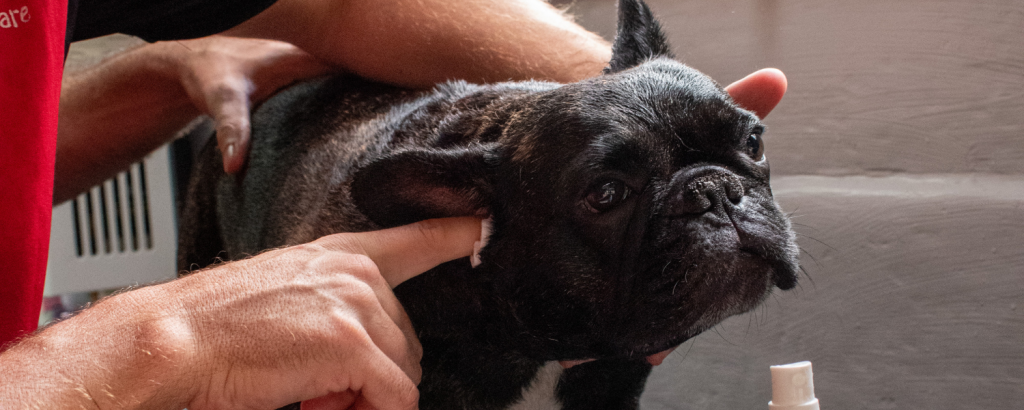
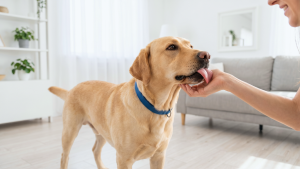
Prevention is always better than a cure. Keeping the ears clean is the most effective way to remove the debris and dirt that lead to infection. Here is the professional “one-knuckle” technique used by groomers:
What You Will Need:
- Two pieces of high-quality cotton wool pads/rounds.
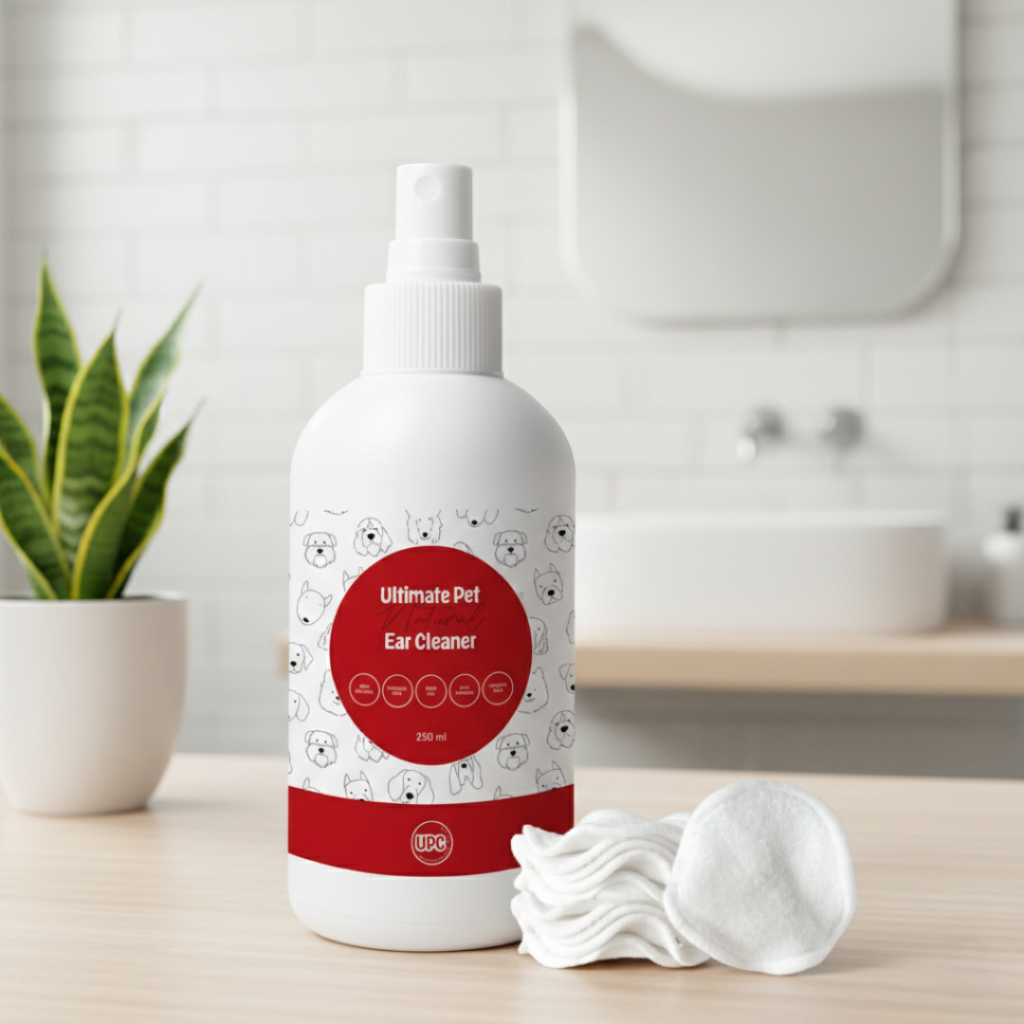
- Ear cleaner (like UPC Pet Ear Cleaner).
- Note: Never use cotton buds/Q-tips, as these can push debris further into the ear or rupture the eardrum.
The Step-by-Step Process:
- Prep the Cotton: Spray your first piece of cotton wool with the ear cleaner until it is wet.
- The Gentle Wipe: Place the cotton wool just inside the ear opening. Gently wipe the visible part of the ear and the beginning of the canal.
- The One-Knuckle Rule: Use your finger to move the cotton wool around, but never go deeper than the depth of your first knuckle. This ensures you don’t reach the sensitive eardrum.
- Repeat and Switch: Use a fresh, clean piece of cotton wool for the second ear. Crucial Tip: Never use the same cotton wool for both ears, as this can spread a localised infection from one ear to the other.
- Reward: Give your pet a treat for being a “good boy/girl.”
When to See a Veterinarian
If you notice persistent discharge, a pungent odour, or signs of acute pain, cleaning is no longer a DIY task. These symptoms often mean a deep-seated infection that requires medical intervention. When it comes to your pet’s hearing and comfort, it is always better to be on the safe side – if you have any doubts, consult your veterinarian immediately.
Final Thoughts
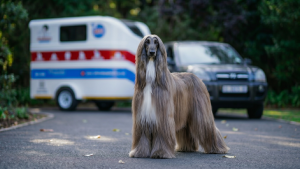
Regular professional grooming plays a massive role in ear health. At Ultimate Pet Care, our mobile grooming trailers are equipped to handle routine ear cleaning.
By catching the early signs of wax build-up during a routine wash, we help you avoid costly vet bills and keep your pet’s tail wagging.
Is your pet due for a clean? Book a professional grooming session with Ultimate Pet Care today and let us take care of those hard-to-reach spots!


")